Adding Links in the Navbar
Now that we have our first route set up, let’s add a couple of links to the navbar of our app. These will direct users to login or signup for our app when they first visit it.
 Replace the
 render method in src/App.js with the following.
render() {
  return (
    <div className="App container">
      <Navbar fluid collapseOnSelect>
        <Navbar.Header>
          <Navbar.Brand>
            <Link to="/">Scratch</Link>
          </Navbar.Brand>
          <Navbar.Toggle />
        </Navbar.Header>
        <Navbar.Collapse>
          <Nav pullRight>
            <NavItem href="/signup">Signup</NavItem>
            <NavItem href="/login">Login</NavItem>
          </Nav>
        </Navbar.Collapse>
      </Navbar>
      <Routes />
    </div>
  );
}
This adds two links to our navbar using the NavItem Bootstrap component. The Navbar.Collapse component ensures that on mobile devices the two links will be collapsed.
And let’s include the necessary components in the header.
Replace the react-router-dom and react-bootstrap import in src/App.js with this.
import { Link } from "react-router-dom";
import { Nav, Navbar, NavItem } from "react-bootstrap";
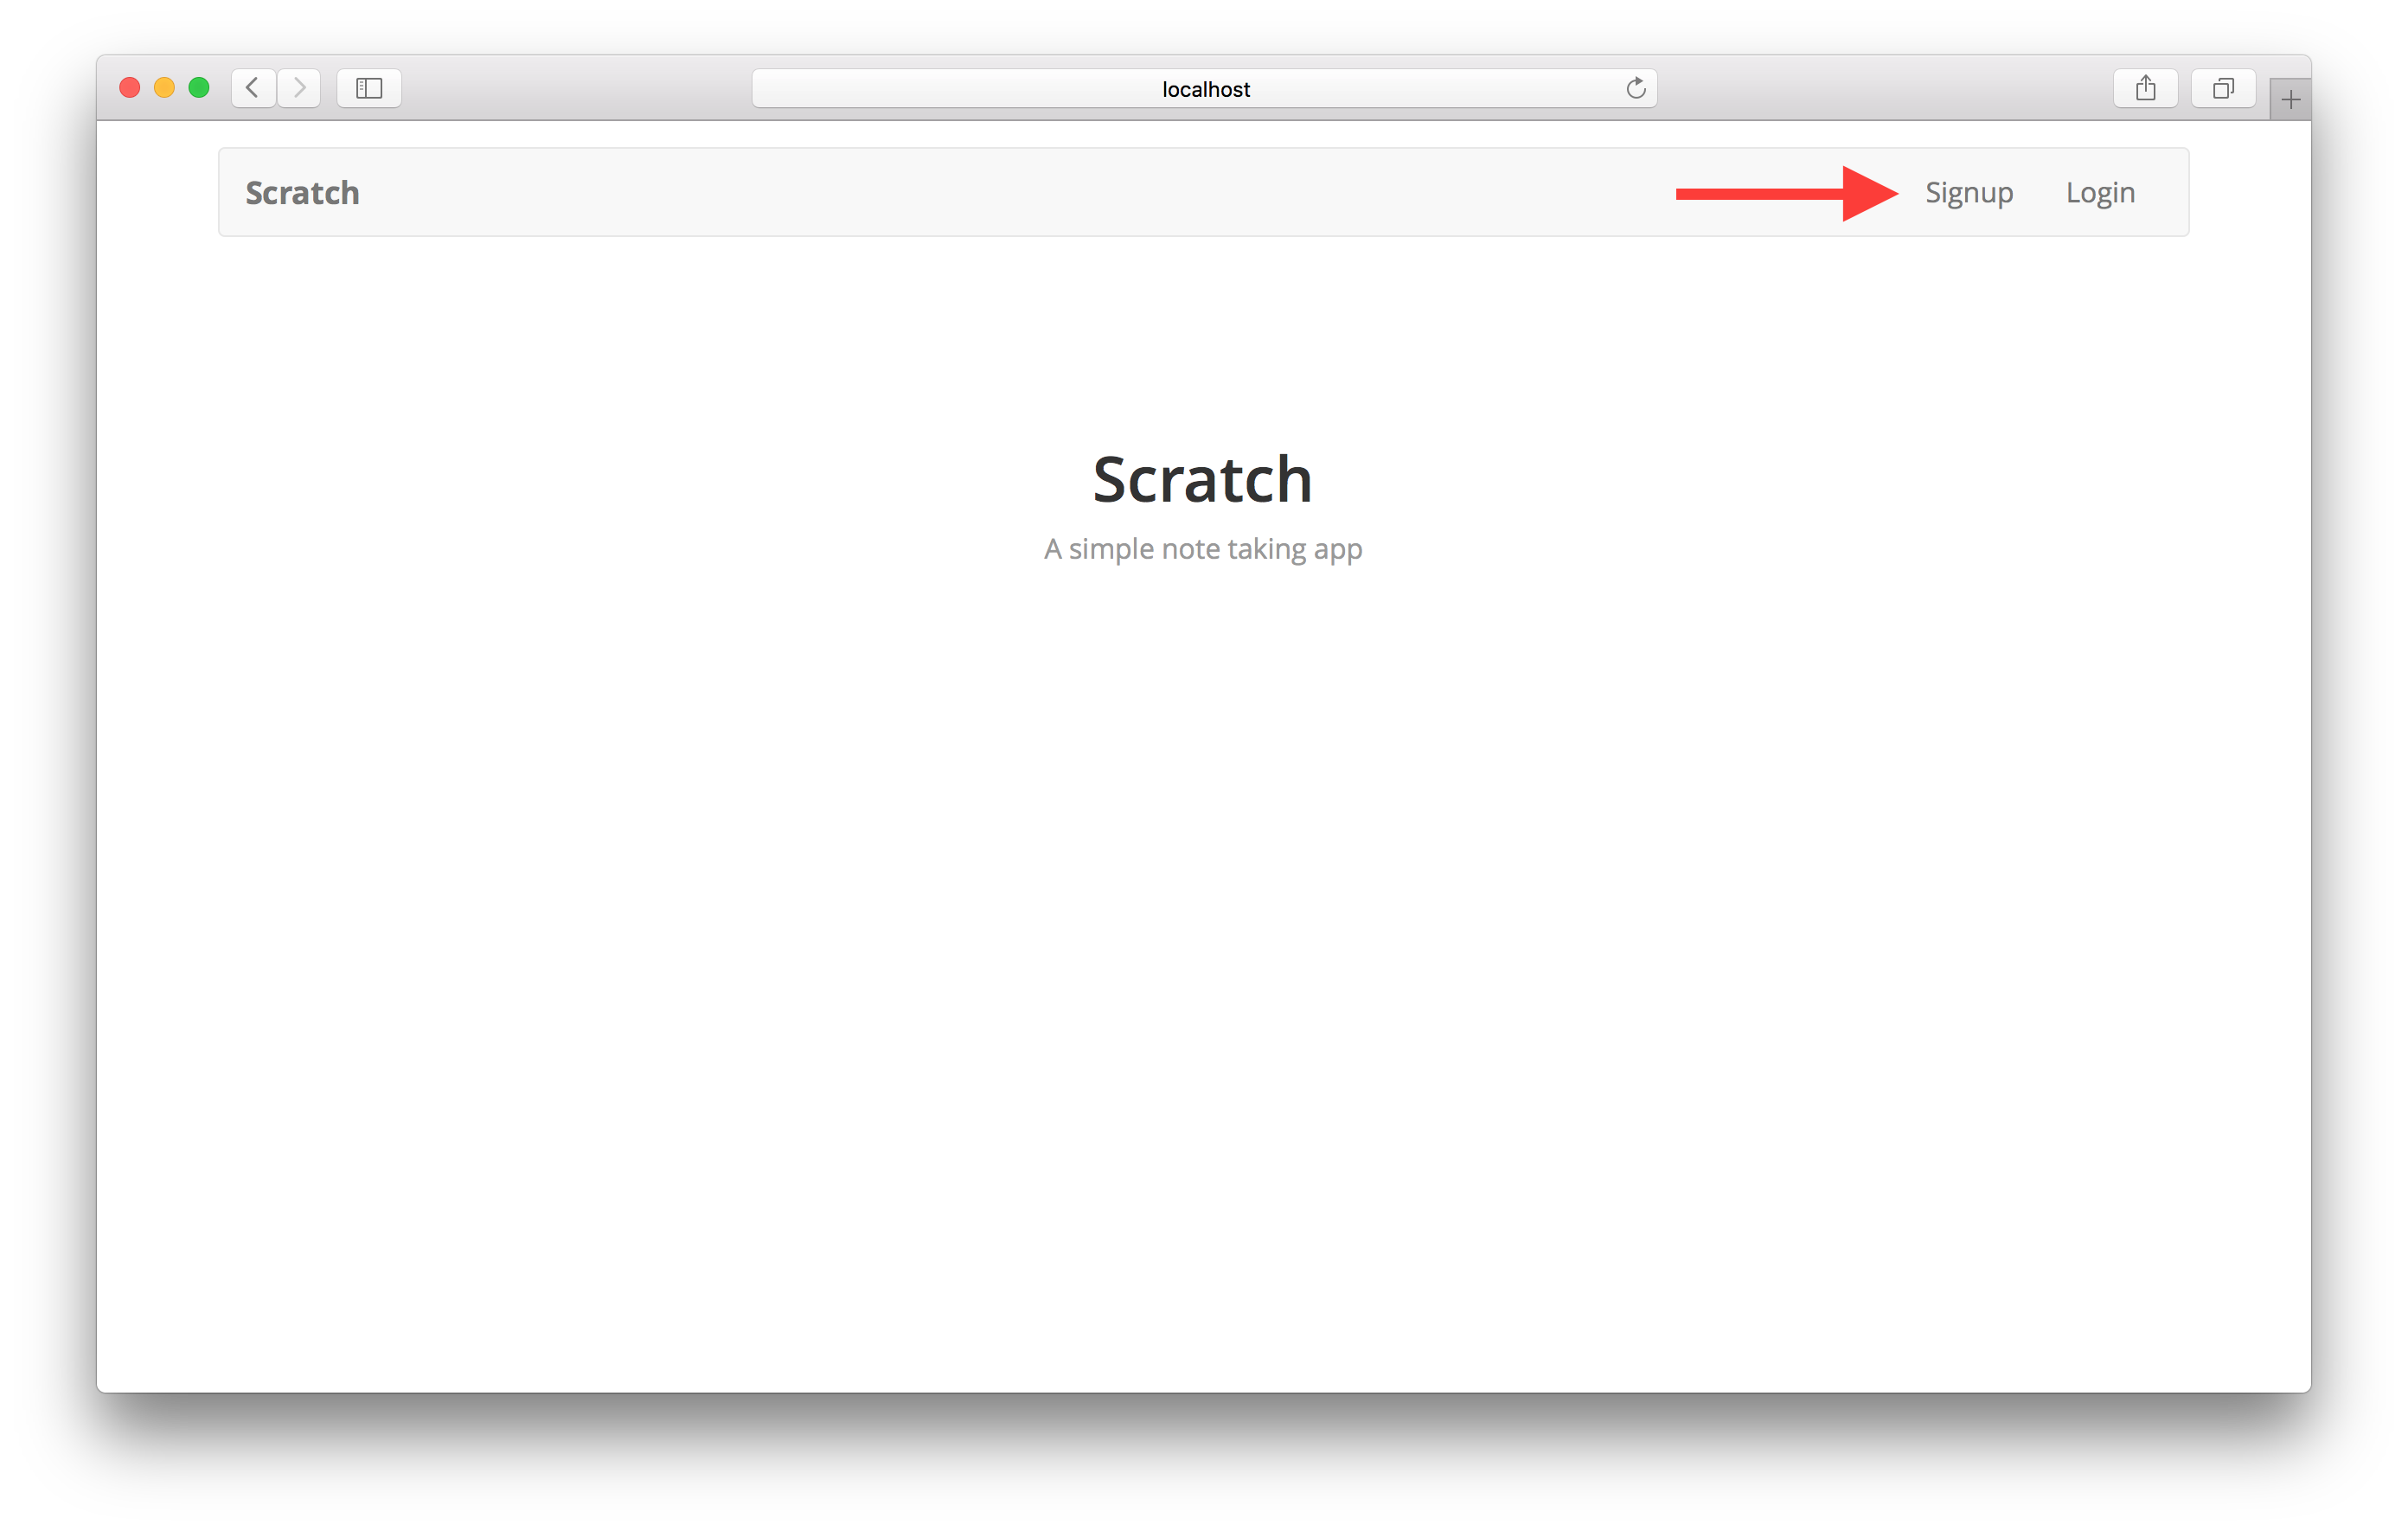
Now if you flip over to your browser, you should see the two links in our navbar.
Unfortunately, they don’t do a whole lot when you click on them. We also need them to highlight when we navigate to that page. To fix this we are going to use a useful feature of the React-Router. We are going to use the Route component to detect when we are on a certain page and then render based on it. Since we are going to do this twice, let’s make this into a component that can be re-used.
Create a src/components/ directory and add the following inside src/components/RouteNavItem.js.
import React from "react";
import { Route } from "react-router-dom";
import { NavItem } from "react-bootstrap";

export default props =>
  <Route
    path={props.href}
    exact
    children={({ match, history }) =>
      <NavItem
        onClick={e => history.push(e.currentTarget.getAttribute("href"))}
        {...props}
        active={match ? true : false}
      >
        {props.children}
      </NavItem>}
  />;
This is doing a couple of things here:
-
We look at the
hreffor theNavItemand check if there is a match. -
React-Router passes in a
matchobject in case there is a match. We use that and set theactiveprop for theNavItem. -
React-Router also passes us a
historyobject. We use this to navigate to the new page usinghistory.push.
Now let’s use this component.
Import this component in the header of our src/App.js.
import RouteNavItem from "./components/RouteNavItem";
And remove the NavItem from the header of src/App.js, so that the react-bootstrap import looks like this.
import { Nav, Navbar } from "react-bootstrap";
Now replace the NavItem components in src/App.js.
<NavItem href="/signup">Signup</NavItem>
<NavItem href="/login">Login</NavItem>
With the following.
<RouteNavItem href="/signup">Signup</RouteNavItem>
<RouteNavItem href="/login">Login</RouteNavItem>
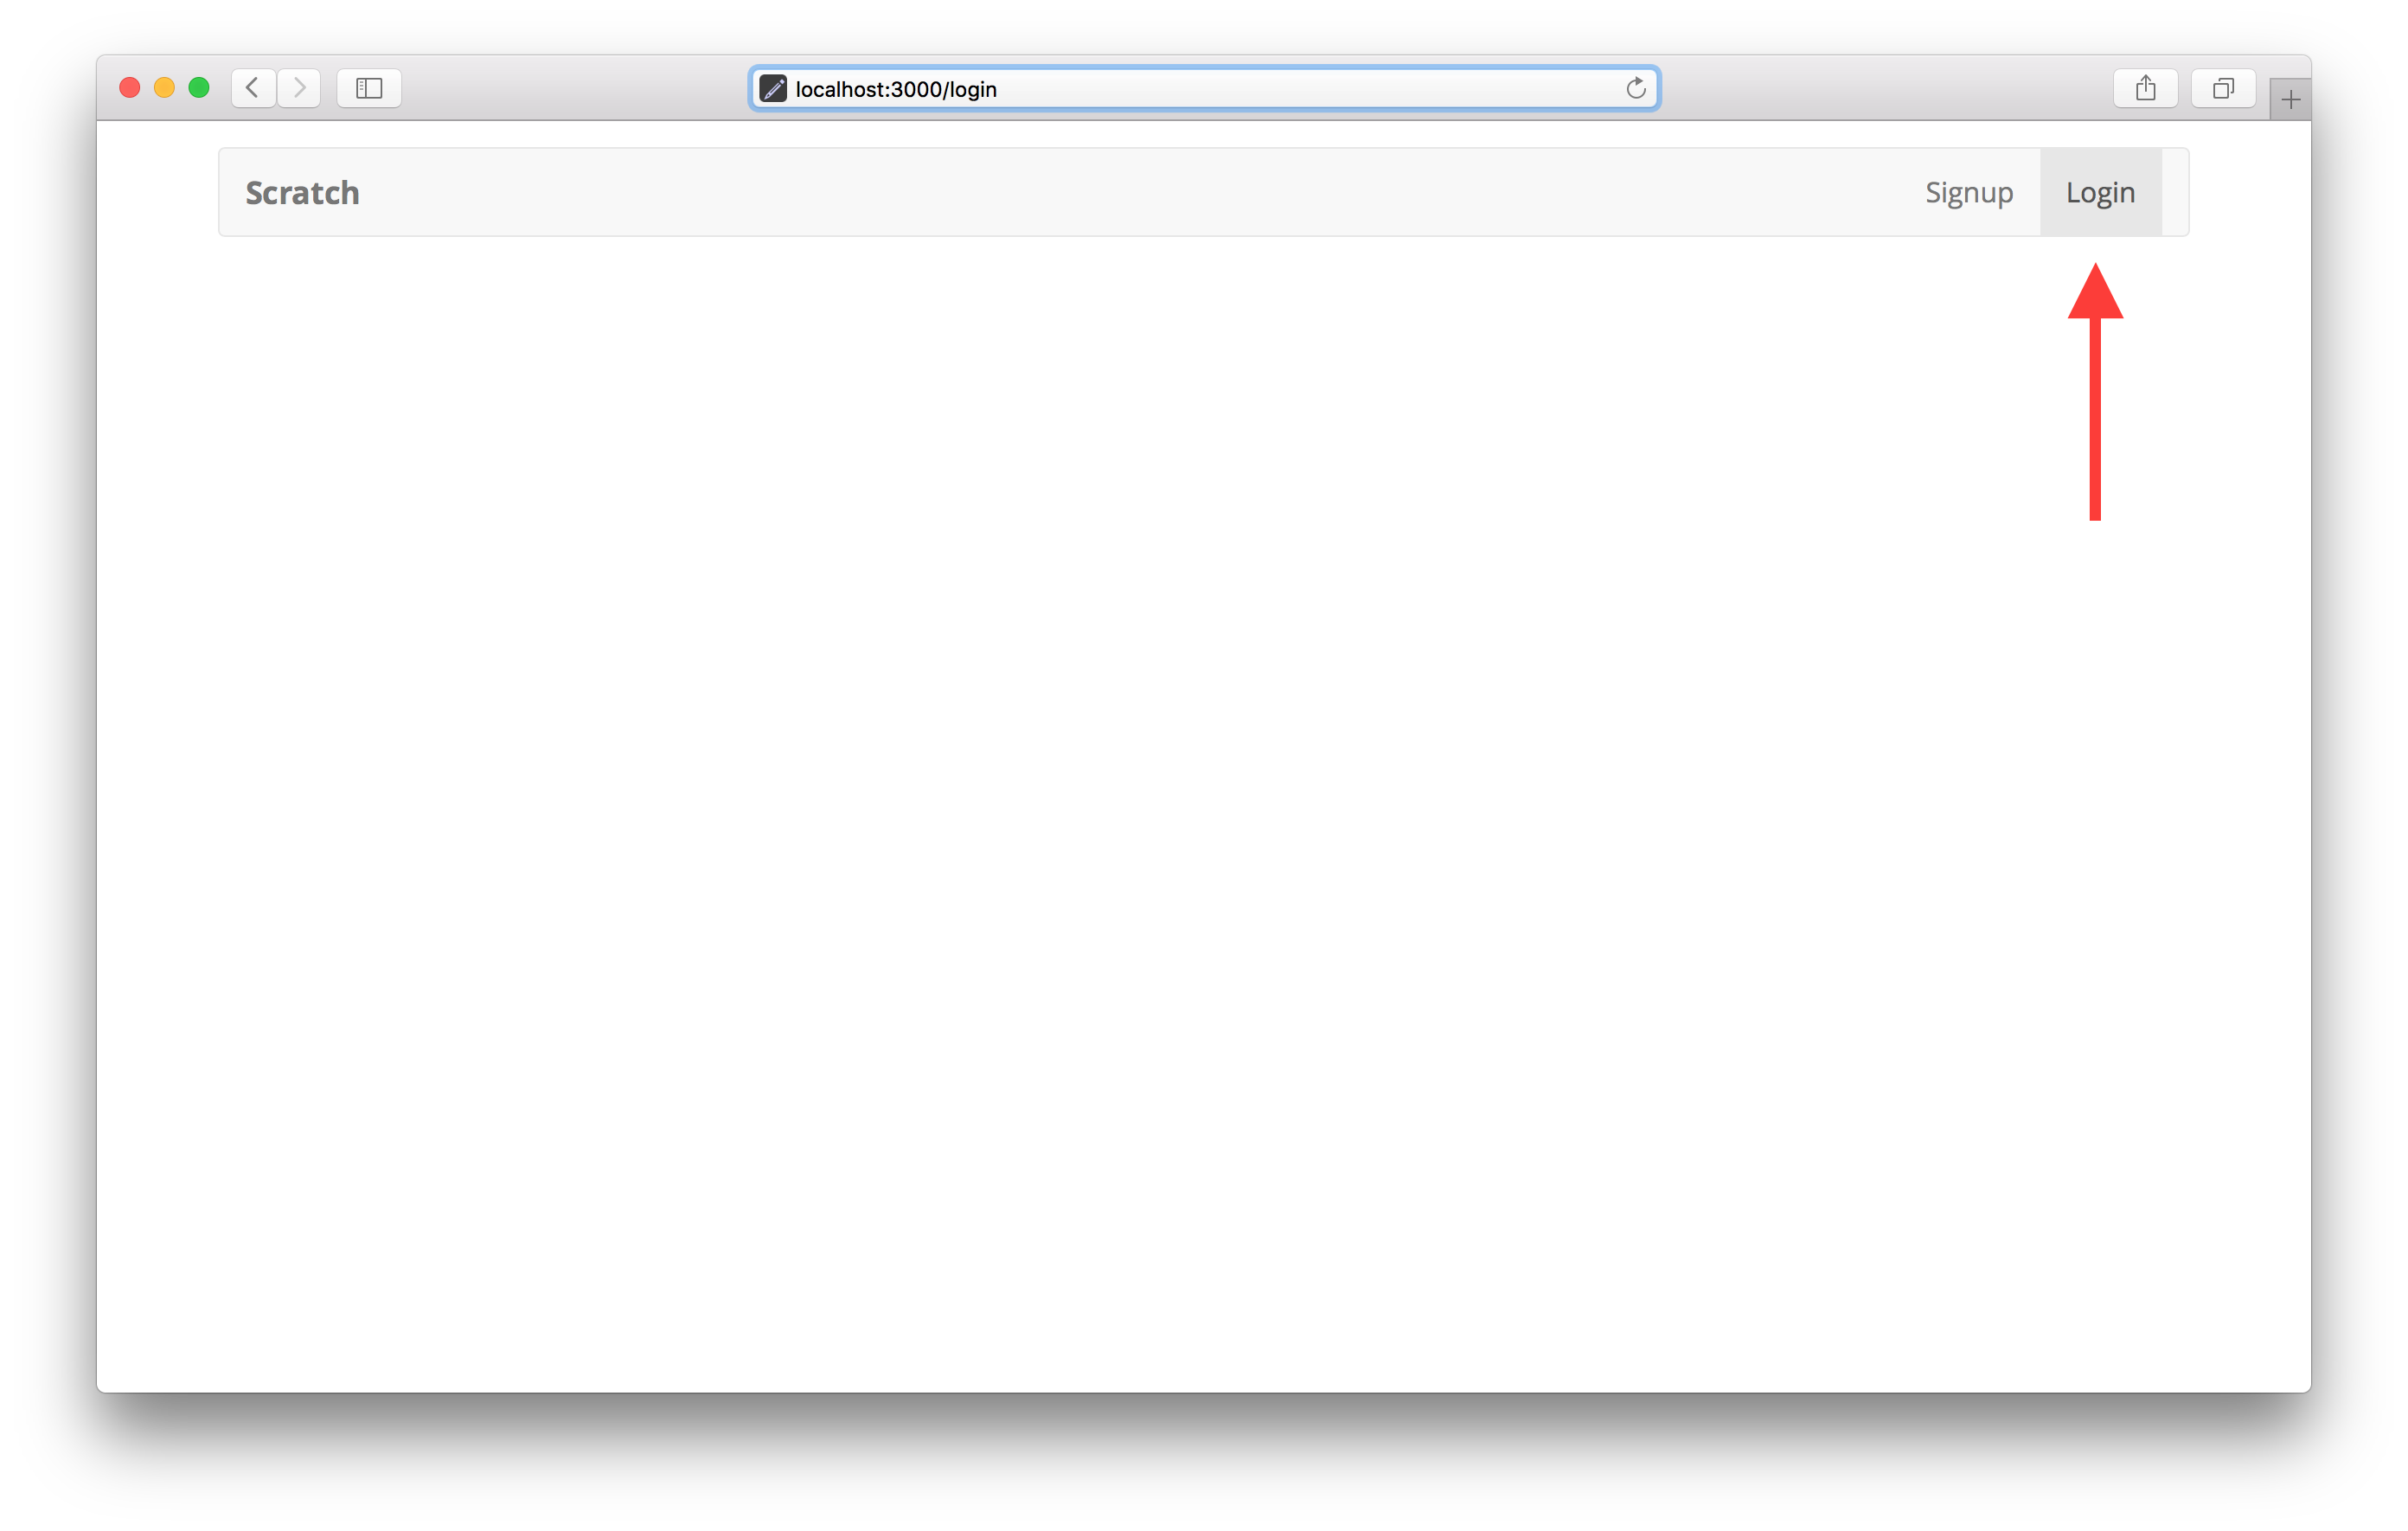
And that’s it! Now if you flip over to your browser and click on the login link, you should see the link highlighted in the navbar.
You’ll notice that we are not rendering anything on the page because we don’t have a login page currently. We should handle the case when a requested page is not found.
Next let’s look at how to tackle handling 404s with our router.

If you liked this post, please subscribe to our newsletter, give us a star on GitHub, and check out our sponsors.
For help and discussion
Comments on this chapterFor reference, here is the code so far
Frontend Source :adding-links-in-the-navbar